If you’ve ever recorded a video that’s just a little too long, filmed in the wrong format for the platform you’re posting to, or ended up with a clip that’s mostly dead air and one good moment, you already know the frustration. You don’t need a film degree or expensive software to fix it. Free online video trimming tools have made it genuinely easy to cut your clips, reformat them for any platform, and keep the quality intact, all from a browser tab.
This guide walks you through everything you need to know to get clean, professional-looking video edits without downloading anything or spending a dime.
Why Online Video Trimming Tools Have Gotten So Good
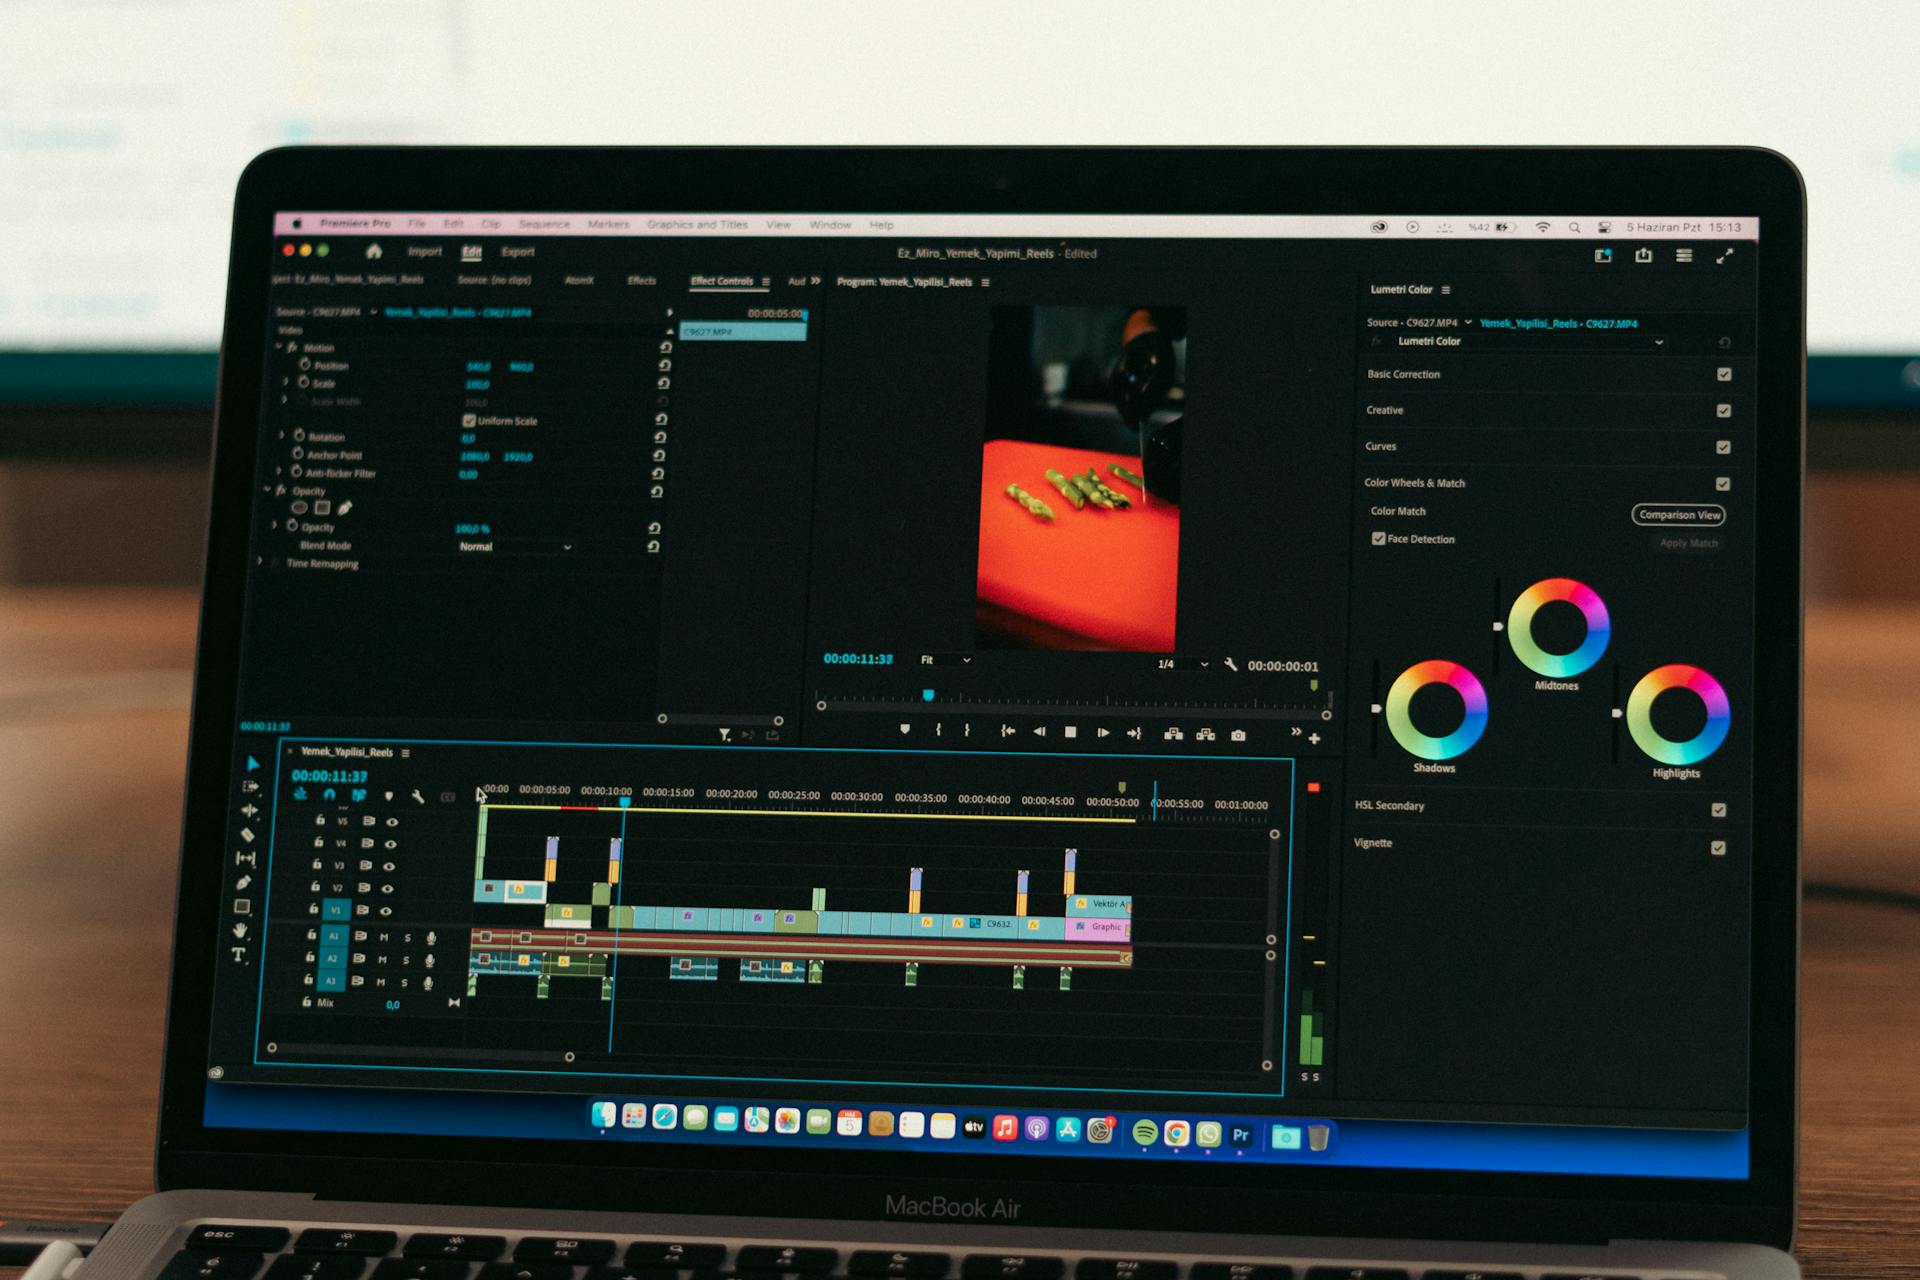
Not long ago, video editing was something you did in a desktop application with a steep learning curve and an even steeper price tag. That’s changed dramatically. Browser-based tools now handle everything from basic cuts to aspect ratio adjustments in a matter of clicks, and they do it without degrading your original footage.
The shift happened because creators need fast solutions. A business owner who wants to post a product highlight to Instagram doesn’t need a 45-minute tutorial. A teacher trimming a lecture clip doesn’t have time to learn a timeline editor. Online tools have adapted to meet that need, and the best ones now offer a combination of simplicity, speed, and output quality that rival what you’d get from desktop software.
What sets the strongest tools apart is how much they let you do after the trim. Changing the aspect ratio to match TikTok, Instagram Reels, or YouTube Shorts is now a standard feature, not an advanced one. And downloading in high-resolution MP4 format is table stakes. The question isn’t whether you can do these things for free. It’s knowing what to look for so you choose a tool that actually works.
What to Look for in a Free Online Video Trimmer
Before you upload anything, it helps to know what features actually matter. Here’s what distinguishes a genuinely useful trimming tool from one that wastes your time.
- Drag-and-drop trimming controls. Sliders or handlebars that let you visually set your start and end points are far more intuitive than typing in timestamps, especially if you’re working quickly.
- Aspect ratio presets. Look for options like square (1:1), portrait (9:16), and landscape (16:9) at minimum. These map directly to the main social platforms where you’ll likely be sharing your video.
- High-quality export. The best tools output MP4 files that don’t compress your video to the point of pixelation. If you’re posting to social media or using clips in presentations, you want your footage to look as good going out as it did coming in.
- No watermark on the free tier. Some tools add a branding stamp to your video unless you upgrade. Check before you invest time editing.
- Mobile and desktop compatibility. You should be able to trim on your phone just as easily as on a computer. The best tools work the same way regardless of device.
- File size support. A tool that caps uploads at 50MB isn’t going to work for most real-world video files. Look for tools that handle at least 500MB to 1GB.
8 Tips for Getting the Best Results When Trimming Video Online
1. Watch your clip through once before you trim.
It sounds obvious, but skipping this step leads to imprecise cuts. Play the full video, note the exact moments where you want to start and end, and then make your trims. Scrubbing through a timeline without watching first often results in cutting off key moments by a second or two.
2. Trim first, then adjust the aspect ratio.
The order of operations matters. If you change the aspect ratio before trimming, you may need to re-crop your video after adjusting the length. Getting the timing right first, then reformatting for the platform, saves extra steps and keeps your framing consistent.
3. Match the aspect ratio to the platform before you download.
Each major social platform has a preferred format. Landscape (16:9) works for YouTube and Facebook. Portrait (9:16) is standard for TikTok, Instagram Reels, and YouTube Shorts. Square (1:1) performs well on Instagram feed posts and LinkedIn. Knowing your destination before you export means you won’t have to redo the work later.
4. Use the mute option strategically.
If your original audio has wind noise, background chatter, or an accidental comment you don’t want included, muting the video before downloading is a quick fix. You can always layer in music or voiceover separately in another step. This is especially useful for clips meant to play silently in a social feed.
5. Try the practical how-to approach with a dedicated trim tool.
One of the easiest ways to handle all of this in one place is to use Adobe Express’s video cutter. Here’s how a typical workflow looks: Upload your video (up to 1GB), then drag the handlebars on either end of the timeline to set your start and stop points. Once your clip is trimmed to the right length, switch to the aspect ratio controls and select the format that matches your destination platform, whether that’s square, landscape, or portrait. If needed, drag the video within the new frame to adjust what’s visible. When everything looks right, download your video as a high-resolution MP4. The whole process takes a few minutes and requires no account creation to get started on the free plan.
6. Don’t forget to check audio sync after trimming.
Some tools can introduce a slight offset between your video and audio after cutting, especially on longer files. Always preview your trimmed clip before downloading to make sure the sound matches the visuals. If something feels off, try re-uploading and trimming slightly differently.
7. Keep the original file.
Online tools create a new output file when you download, but it’s worth hanging on to your original. If you later need a different length or want to experiment with a different crop, you’ll want to start from the unedited source rather than re-trimming an already-compressed version.
8. Use the manual time entry option for precision.
When you need a cut at exactly 0:23 or want to remove a specific three-second section, the visual handlebars may not give you the precision you need. Many tools offer a manual input field where you can type exact timestamps. Use this when framing matters, like clipping a quote, isolating a product moment, or hitting a specific beat in background music.
How to Change the Aspect Ratio Without Losing the Subject of Your Shot
Changing the aspect ratio of a video isn’t just cropping. It’s deciding which part of the frame stays visible when the dimensions change. This is where a lot of people run into trouble: they reformat for portrait mode and suddenly their subject is half off-screen.
The key is to look for a tool that lets you reposition your video within the new frame after the aspect ratio is applied. Rather than automatically centering the crop, you want to be able to drag the footage to put your subject where it looks best. This is a small but significant feature that separates more capable tools from basic ones.
If you’re working with footage that was shot horizontally and need to post it vertically, consider whether there’s enough visual content on either side of the action to fill the frame. Talking-head videos, product demos, and interviews usually work well. Wide landscape shots with action happening across the full horizontal frame are trickier.
How to Maintain High Video Quality Through the Trimming and Export Process
Video quality loss in online tools typically happens in one of two ways: during the upload compression or during the export encoding. Here’s how to minimize both.
Start with the highest-quality version of your file that you have available. If you have a choice between a compressed version and the original, always upload the original. The tool can’t recover detail that was already lost before the file was uploaded.
Look for tools that export in MP4 format using H.264 encoding, which gives a strong balance of quality and file size. Some tools will advertise “HD” output but still export at a lower bitrate that looks soft or blocky when viewed at full size. If quality matters for your use case, do a quick test export before committing to a lengthy edit.
Finally, avoid trimming an already-trimmed file more than once if you can help it. Each re-encode introduces a small amount of compression. Starting from your original source each time keeps the quality as high as possible.
Who Benefits Most From Online Video Trimming Tools
Online video editors serve a wide range of people, and it’s worth understanding which use cases they’re genuinely best suited for.
Social media creators benefit most because the need to reformat constantly for different platforms is built into the job. A 60-second clip shot for YouTube may need to become a 15-second vertical reel, and a free online tool handles that transformation in a few minutes.
Small business owners and marketers often have video content but no dedicated video editor on staff. Trimming a product demo, cutting down a testimonial, or preparing a promotional clip for social ads are all tasks that can be handled in-browser without needing to hire out.
Educators and presenters regularly need to clip segments from longer recordings. Pulling a five-minute highlight from a one-hour lecture or shortening a recorded presentation for use in an email is exactly the kind of task these tools were built for.
Anyone working on a tight deadline also benefits from the speed. When you need a clip ready in the next 15 minutes, a browser-based tool beats downloading, installing, and learning desktop software by a significant margin.
FAQ
Can I trim a video online without creating an account?
Yes, many free online video trimming tools allow you to upload and trim a video without signing in or creating an account. This is especially useful when you need a quick edit and don’t want to commit to another platform login. Some tools may require an account to access certain features like exporting in higher resolutions or saving your work in progress, so it’s worth checking the specific tool’s requirements before you get started. If you plan to use the tool regularly, creating a free account often unlocks a few additional features worth having.
Does trimming a video online affect its quality?
Trimming itself does not reduce video quality. The issue, when it occurs, is typically in the export encoding process, not the cutting itself. Reputable tools maintain the original resolution and output a clean MP4 without re-compressing your footage unnecessarily. To protect quality on your end, always upload the highest-resolution version of your file that you have available. Avoid repeatedly editing and exporting the same clip multiple times, since each export cycle can introduce minor compression artifacts over time.
What aspect ratio should I use for different social media platforms?
The short answer is: 9:16 for TikTok, Instagram Reels, and YouTube Shorts; 16:9 for standard YouTube videos and Facebook; 1:1 square for Instagram feed and LinkedIn. These formats are not arbitrary. They reflect the screen orientation most users are holding their phones in when they see your content. Posting a landscape video to a platform designed for portrait viewing means your video will appear small with large black bars on either side, which reduces engagement. Reformatting before you post is one of the highest-impact, lowest-effort things you can do to improve how your video performs. If you want a handy reference for these specs, Sprout Social’s video specs guide is regularly updated and covers all major platforms in one place.
Is there a file size limit for free online video trimmers?
Most free online tools do have some kind of file size or length limit, though the specifics vary. Common limits on free tiers range from 500MB to 1GB per upload, and video length limits are often set around 30 to 60 minutes. For most everyday trimming tasks, these limits are more than sufficient. If you’re working with large raw video files from a professional camera, you may want to do a quick initial compression before uploading, or look specifically for a tool that supports larger file sizes. Always check the tool’s documentation or upload screen before you begin editing to avoid discovering a limit mid-project.
Can I change the aspect ratio and trim a video in the same session?
Yes, and in most modern online tools, both actions are available in the same editor without needing to export between steps. You can trim your clip to the right length, then switch to the aspect ratio controls and reformat for your target platform, all before downloading. Doing both in a single session is more efficient and also helps avoid any additional quality loss that might come from exporting and re-uploading between edits. If the tool you’re using requires you to complete one action before accessing the other, it may be worth trying a more full-featured editor that supports both functions simultaneously.
Conclusion
Trimming a video and adjusting its aspect ratio used to require dedicated software and a fair amount of patience. That’s no longer true. Free browser-based tools have made it possible for anyone to clean up their clips, reformat for the right platform, and download in high quality in just a few minutes, with no software installation and no design experience required.
The most important thing is choosing a tool that handles both trimming and aspect ratio adjustments in the same workflow, exports in a format that preserves your original quality, and works just as well on mobile as it does on a desktop. Once you find one that checks those boxes, the process becomes genuinely simple: upload, set your cut points, pick your format, download. That’s it.
For more, visit Pure Magazine